
ZIPCAM GUIDE · FREE
How to take and compress a photo in ZipCam Camera
ZipCam’s Camera combines taking a photo and making a smaller copy in one flow. Choose a compression setting, capture the picture, then review and save or share the result. Camera capture and photo compression are included for free.

Free · See current Pro purchase terms in the app
Free Camera compression includes a required video ad. See banner ads and the 24-hour video-ad-free period.
Choose Camera when the photo is still ahead of you
If you are about to photograph a delivery, a receipt, or an item for sale, capturing inside ZipCam can save a separate import step. For a picture already in your library, use Compress instead. Both workflows let you work toward a smaller image for the next task.
Frame the subject carefully before trying to reduce its file size. A receipt needs readable totals and dates; a product photo needs clear edges and accurate detail. A very small file is not useful if the person receiving it cannot see what matters.
Take and review a compressed photo
- Open Camera and allow camera access when requested.
- Choose the available camera, frame the subject, and adjust flash or camera direction when needed.
- Select Light, Balanced, or Strong, or choose a custom photo target.
- Capture the photo and inspect the processed result.
- Save manually or share the copy once the detail and output size are suitable.
Light retains more detail than Strong. If you need a particular upload size, the custom control accepts 1–1023 KB and is free for now. Check the actual result, including the dimensions and accepted format when a form specifies them.
Decide whether Auto Save helps
Info contains an Auto Save setting for saving after compression. Manual saving is useful while you are comparing quality levels or testing a new workflow. Once the settings suit the kind of photos you take, Auto Save can reduce repeated taps.
Confirm where copies are going before relying on automatic saving. The optional Save in App destination belongs to Pro; it is separate from ordinary saving to Apple Photos. A save failure still needs attention, so verify a sample photo at the destination before taking a long series.
Add a stamp or prepare an application photo
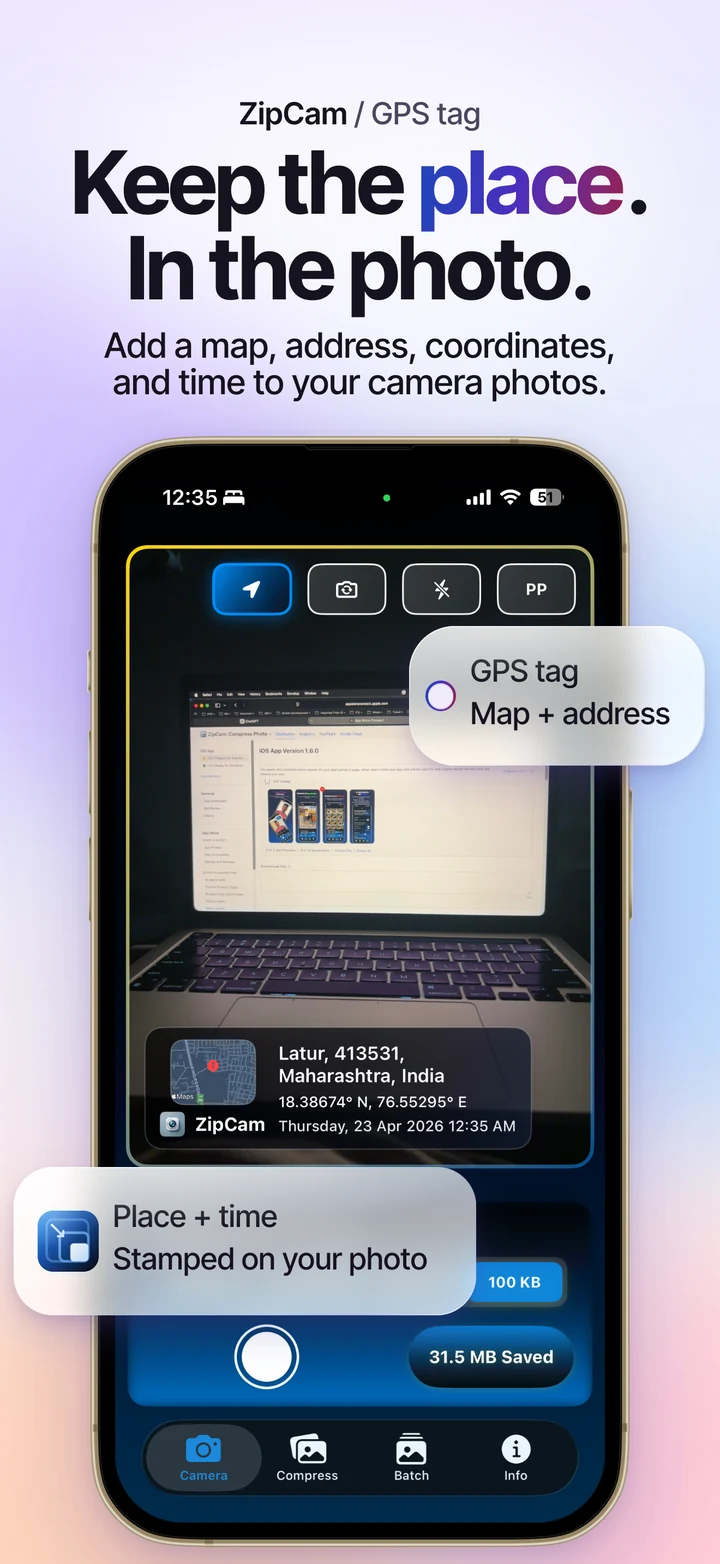
Camera also provides access to GPS location stamps and passport-style preparation, both free for now. Turn on a visible stamp when the place and time should remain readable in the picture.
Leave the stamp off when preparing a plain portrait for an application, unless that application explicitly asks for one. Portrait framing, background rules, and file-size requirements are separate checks. ZipCam’s preparation tools do not certify official acceptance.
Camera permissions and Mac capture
If the camera preview is unavailable, check camera permission for ZipCam and whether another app is using the camera. You can still import an existing photo through Compress. Location permission is relevant when using a GPS stamp; ordinary photo compression does not require adding your location.
On Apple silicon Mac, ZipCam runs as a Designed for iPad app and can use a nearby iPhone through Continuity Camera when Apple’s requirements are met. The Mac workflow guide covers that setup and file-based alternatives. Camera saves do not offer Review Originals for deleting existing Photos items.
Camera and Auto Save: common questions
Should I turn on Auto Save while testing quality?
Manual saving makes it easier to inspect each trial first. Once you have checked the output quality and save destination, enable Auto Save in Info if it suits your routine.
Does ordinary Camera compression require a GPS stamp?
No. The visible GPS stamp is optional. You can capture and compress a photo without placing coordinates, an address, or a map on it.